
MCX Services
Real-time Visual Collaboration for Mission Critical Services

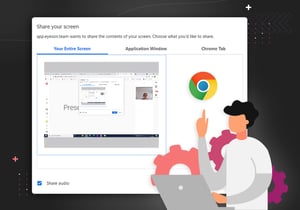
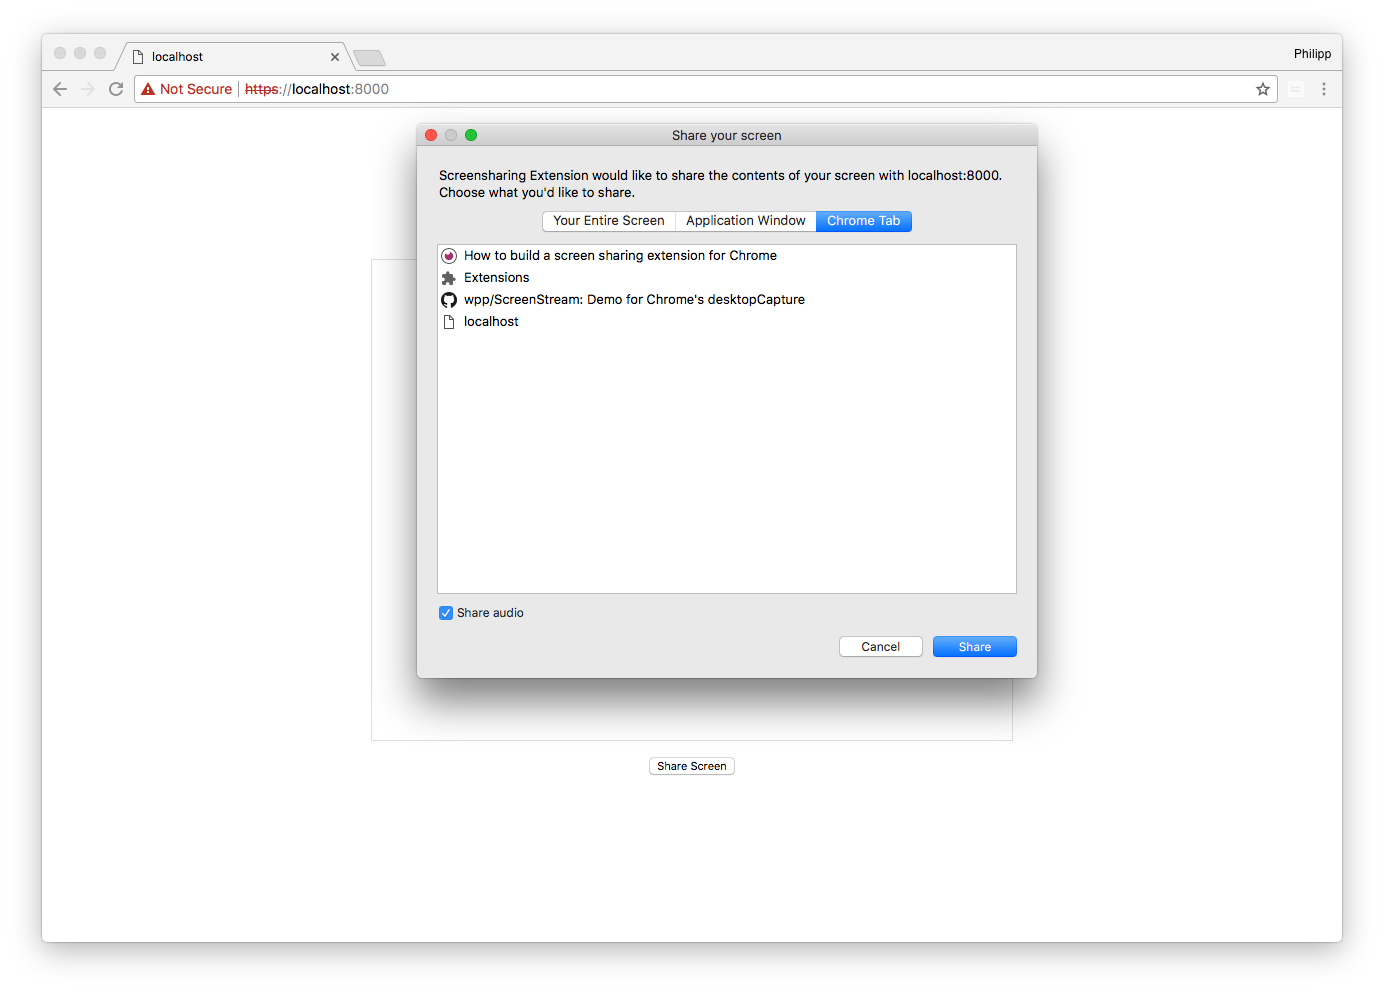
In this post, I’ll try to explain how you can build a screen-sharing extension. I’ll cover the architecture of the extension and the way the individual parts communicate with each other. Our goal is to capture the entire desktop or an application window via Chrome and display it in an HTML video element. Below is a preview of the finished extension.
In order to accomplish that, we need to invoke navigator.mediaDevices.getUserMedia with a valid chromeMediaSourceId:
navigator.mediaDevices.getUserMedia({
  audio: false,
  video: {
    mandatory: {
      chromeMediaSource:   'desktop',
      chromeMediaSourceId: 'some-kind-of-chrome-media-source-id'
    }
  }
})
.then(stream => {
  video.srcObject = stream;
});
Turns out, we have to build an extension to get that id and in the remainder of this post, I will explain where we get it and how we pass it to our app. By the way, I’ll abbreviate code snippets to make it easier to follow along. The full source code with instructions on how to set up the project for local development and a simple server (https required) is also available here.
The extension consists of 4 parts:
Let’s go through the first 3 to get an idea of what they’re supposed to do and why we need them.
…the background page is an HTML page that runs in the extension process. It exists for the lifetime of your extension, and only one instance of it at a time is active. – Chrome developer documentation
This sounds a little confusing since the “background page” doesn’t require any actual HTML markup. The extension system generates that part automatically so we get by with just the background.js file.
What’s important to us, is the fact that the background page runs in the extension process and is therefore isolated from our application environment. Meaning, we can’t talk directly to our application’s context (that’s where the content-script.js comes into play). Furthermore, the background page has access to the desktopCapture API. We just have to add it to the permission section of our manifest.json.
If your extension needs to interact with web pages, then it needs a content script. A content script is some JavaScript that executes in the context of a page that’s been loaded into the browser. – Chrome developer documentation
The content script does not have access to variables or functions defined on our page, but it has access to the DOM and can talk with our background page.
The manifest file, called manifest.json, gives information about the extension, such as the most important files and the capabilities that the extension might use. – Chrome developer documentation
We’ll have to add this section to get access to the desktopCapture API on the background page:
"permissions": [
"desktopCapture"
]Quick recap: We need to acquire a chromeMediaSourceId from the background page and pass it to our app. We end up having to pass messages through the chain below (left to right):
app.js            |        |content-script.js |      |background.js       | desktopCapture API
------------------|        |------------------|      |--------------------|
window.postMessage|------->|port.postMessage  |----->|port.onMessage------+
| window |                  | port |                 get| chromeMediaSourceId
getUserMedia      |<------ |window.postMessage|<-----|port.postMessage<---+
Let’s walk through the chain in more detail and please note again: the code snippets are abbreviated for clarity. Starting from the users click on “Share Screen” in our application, we post a message to window, because
window.postMessage({ type: 'SS_UI_REQUEST', text: 'start' }, '*');
the content script has access to the DOM
window.addEventListener('message', (event) => {
if (event.data.type === 'SS_UI_REQUEST')) {
port.postMessage(event.data);
}
});
and can communicate with the background page.
const port = chrome.runtime.connect(chrome.runtime.id);
The background page is listening on that port,
port.onMessage.addListener((msg) => {
if (msg.type === 'SS_UI_REQUEST') {
requestScreenSharing(port, msg);
}
}
displays Chrome’s capture picker UI and upon selection from the user sends a message containing the chromeMediaSourceId (streamID) back on the port
function requestScreenSharing(port, msg) {
desktopMediaRequestId = chrome.desktopCapture.chooseDesktopMedia(sources, tab,
(streamId) => {
port.postMessage({ type: 'SS_DIALOG_SUCCESS', streamId: streamId });
});
}
the content-script posts it back to app.js
port.onMessage.addListener(function(msg) {
window.postMessage(msg, '*');
});
and we can finally call getUserMedia with the streamId.
if (event.data.type === 'SS_DIALOG_SUCCESS') {
navigator.mediaDevices.getUserMedia({
video: {
mandatory: {
chromeMediaSource: 'desktop',
chromeMediaSourceId: event.data.streamId
}
}
})
.then((stream) => {
videoElement.srcObject = stream;
}
}
That’s how our communication chain works and the reason why we need an extension with a background page, content script and manifest. It’s not trivial, especially if you’ve never developed a Chrome extension, but I hope this post helped you understand how the different parts work together and why they are needed.
Below I’ll just mention a couple of things required for local development and a few interesting tips.
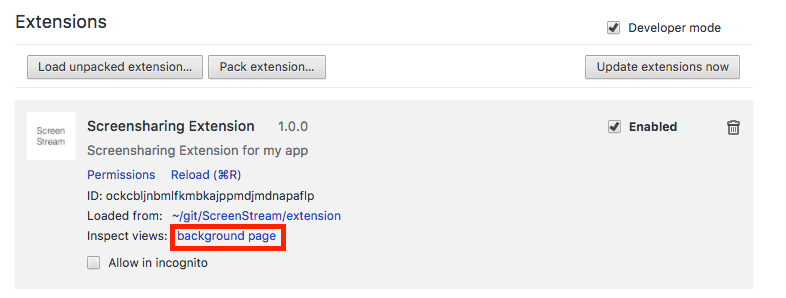
As mentioned earlier, the full source code is available here. Since you’ll need to have an SSL server serving your application’s code, I’ve included one in the repository. Cloning the repo is probably the most convenient way to get started. It’s also worth pointing out that you can inspect the background page, this comes in handy if you need to debug anything in background.js. In order to do that go to chrome://extensions/ and click on “background page”. This will open the familiar Developer Tools with support for debug statements.
If you need to debug anything in the content script, those Dev Tools are available in your application’s tab.
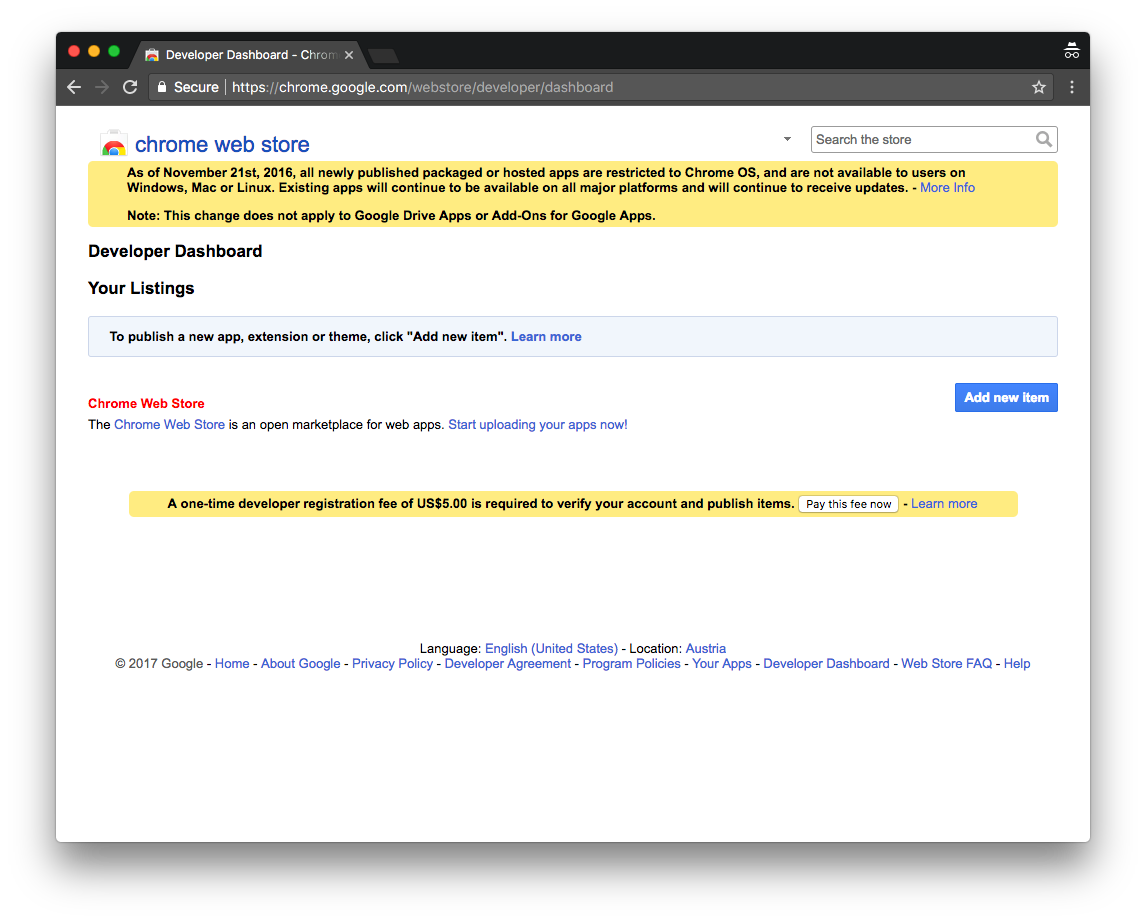
Once you’re happy with your extension you can visit the webstore developer dashboard and add a new item. It seems like you need to pay a one-time fee to be able to publish anything in the store.
Once you’ve gone through that process and uploaded the extension, it will be available through a URL like this one:
https://chrome.google.com/webstore/detail/eyeson-development/gdeembndkibigbkdopnofedeokkkbcdn
The url or rather the extension’s id are important to get the inline installation working. You’ll have to add a chrome-webstore-item link in your app’s <head> section:
<link rel="chrome-webstore-item" href="https://chrome.google.com/webstore/detail/gdeembndkibigbkdopnofedeokkkbcdn" />
And trigger the installation (after a user gesture) via:
const url = document.querySelector('[rel="chrome-webstore-item"]')
.getAttribute('href');
chrome.webstore.install(url, console.log, console.error);
In this section, I’d like to mention a couple of tips you might find interesting for your own projects.
If you’d like to limit the maximum resolution and frame rate of the desktop stream you’re capturing (because of bandwidth constraints for example) you can adjust the video constraints like this:
{
video: {
mandatory: {
chromeMediaSource:   'desktop',
chromeMediaSourceId: 'our-id',
maxWidth:            1920,
maxHeight:           1040,
maxFrameRate:        15
}
}
}
Because the content script isn’t available after the web store installation, you’d have to have the user reload the page in order for the extension to work. That’s always annoying and we can work around that by manually injecting the content script into our tabs. This is done in background.js.
chrome.windows.getAll({ populate: true }, (windows) => {
const details = { file: 'js/content-script.js', allFrames: true };

flatten(windows.map(w => w.tabs)).forEach((tab) => {
// https://developer.chrome.com/extensions/tabs#method-executeScript
    // Would be nice to skip non authorized pages too, to avoid errors.
    chrome.tabs.executeScript(tab.id, details);
});
});
The drawback to this method is you’ll have to ask for “tabs” permissions in your manifest.
"permissions": [
"desktopCapture",
"tabs"
]
Chrome supports two more capture sources you might find interesting. In addition to “screen” and “window”, you can also use “tab” and “audio”. Those show up in the capture picker like this:
The “audio” source is interesting since you can, for example, share a YouTube tab with the audio coming directly from that tab (make sure to adjust the getUserMedia constraints accordingly).
