
MCX Services
Real-time Visual Collaboration for Mission Critical Services


Using the Eyeson API with the time data, we can create a clock widget. Follow this guide for step-by-step instructions.
We can customize fonts, colors, alignment, etc. Here’s our version:

The layer is created in widescreen format. The parameters are 1280x720 (1280x960 for standard format).
Get the current time and add a text box:

Read more about the text box here.
Finally, send it to a meeting and update the time dynamically:

Here's the final version of a code:
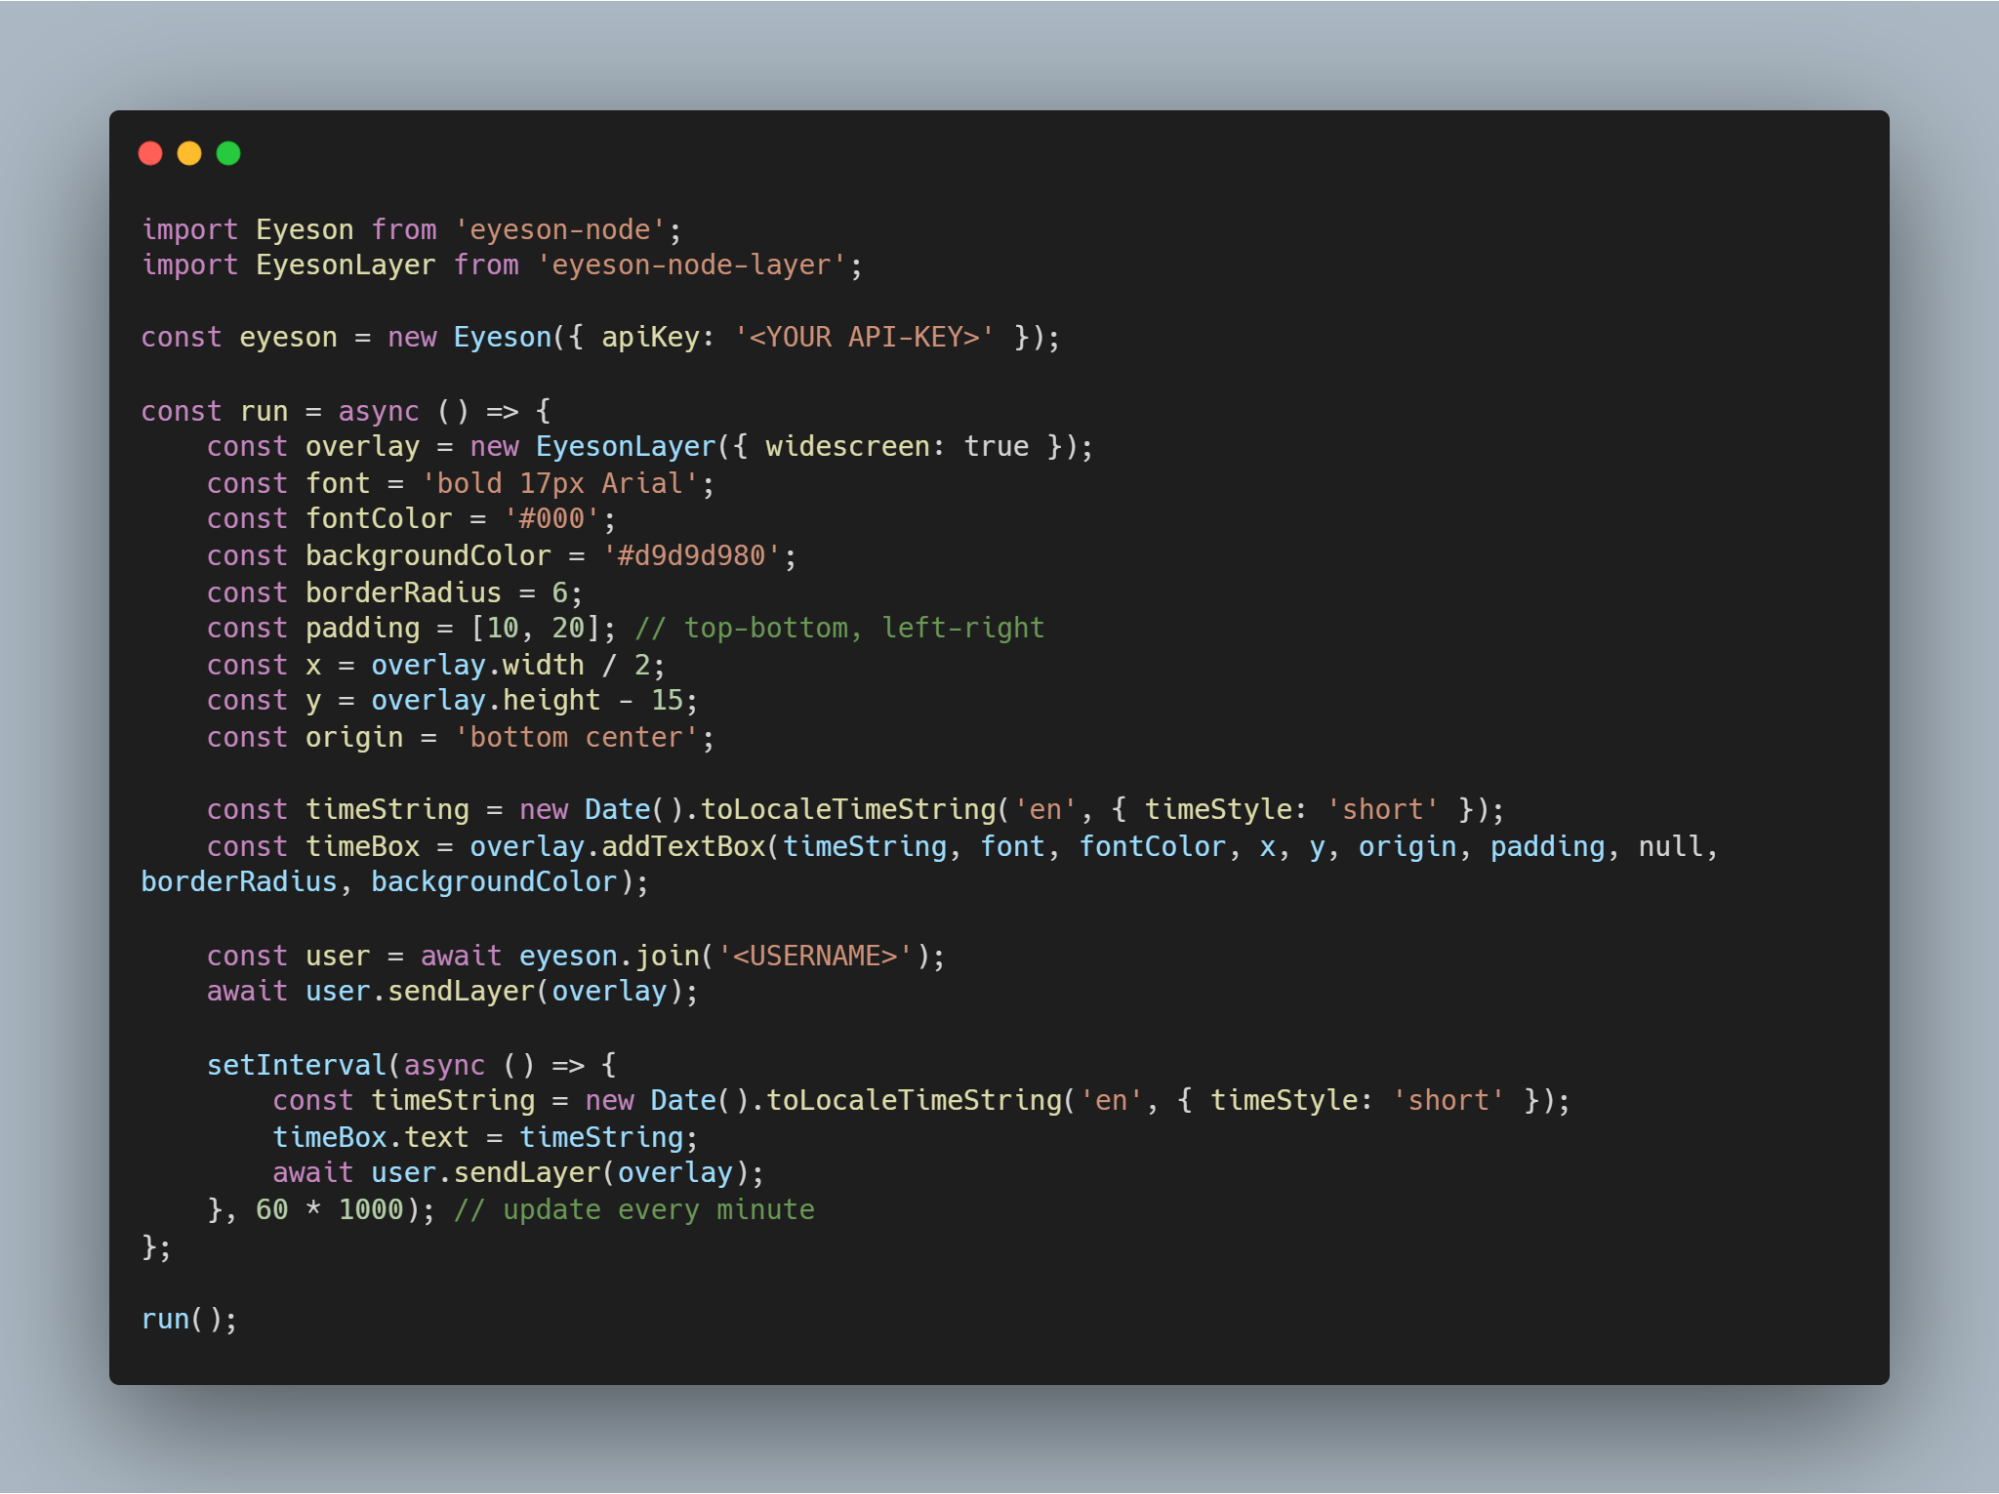
Here's the text version of a code:
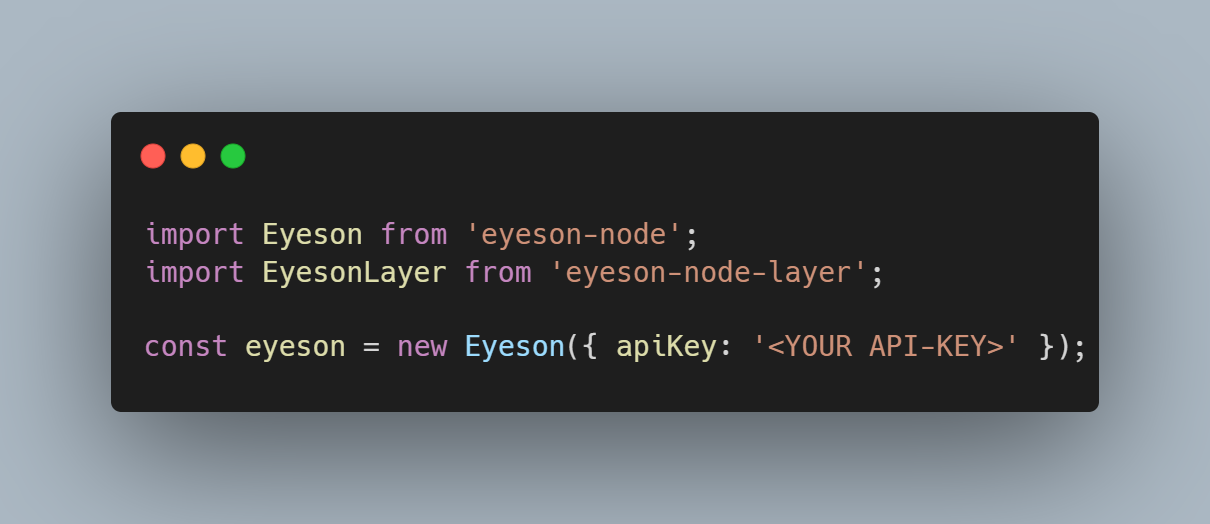
import Eyeson from 'eyeson-node';
import EyesonLayer from 'eyeson-node-layer';
const eyeson = new Eyeson({ apiKey: '<YOUR API-KEY>' });
const run = async () => {
const overlay = new EyesonLayer({ widescreen: true });
const font = 'bold 17px Arial';
const fontColor = '#000';
const backgroundColor = '#d9d9d980';
const borderRadius = 6;
const padding = [10, 20]; // top-bottom, left-right
const x = overlay.width / 2;
const y = overlay.height - 15;
const origin = 'bottom center';
const timeString = new Date().toLocaleTimeString('en', { timeStyle: 'short' });
const timeBox = overlay.addTextBox(timeString, font, fontColor, x, y, origin, padding, null, borderRadius, backgroundColor);
const user = await eyeson.join('<USERNAME>');
await user.sendLayer(overlay);
setInterval(async () => {
const timeString = new Date().toLocaleTimeString('en', { timeStyle: 'short' });
timeBox.text = timeString;
await user.sendLayer(overlay);
}, 60 * 1000); // update every minute
};
The addTextBox() function is employed, creating a background box with padding behind the text and utilizing smart positioning. The origin parameter "bottom center" is used for the X and Y coordinates.
Please note that this code assumes the presence of the eyeson-node and eyeson-node-layer modules, and it requires a valid API key and username to function properly.
Check the performance of a clock widget in action:

You can add a dynamic clock widget to your Eyeson call with just a couple of code lines. Read more on how to add a weather widget, public transport widget or a text box. Don’t miss any of the updates on our Tech Blog. Do not hesitate to create a GitHub ticket if you have any questions or feedback.
